Phone:
(701)814-6992
Physical address:
6296 Donnelly Plaza
Ratkeville, Bahamas.

Phone:
(701)814-6992
Physical address:
6296 Donnelly Plaza
Ratkeville, Bahamas.
Empty walls can feel intimidating, especially that oversized one above the couch or the narrow stretch between windows. But blank space isn’t a decorating failure. It’s untapped real estate waiting for the right approach. Whether someone’s working with rental-friendly solutions or ready to break out the stud finder and drywall anchors, there are practical ways to turn empty walls into intentional, eye-catching features. The key is matching the solution to the wall’s dimensions, the room’s function, and the homeowner’s willingness to drill holes. This guide covers proven strategies that go beyond “hang something pretty” and dives into installation methods, weight considerations, and design principles that actually work.
An empty wall offers control over scale, color, and focal points in ways that furniture can’t. It’s a chance to balance a room’s visual weight, draw the eye upward (making ceilings feel higher), or introduce texture without sacrificing floor space.
The biggest mistake? Rushing to fill it with whatever fits. A poorly scaled piece, like a single 16×20-inch frame on a 12-foot wall, creates awkwardness instead of impact. The goal is to treat the wall as part of the room’s architecture, not an afterthought.
Before committing to decor, homeowners should measure the wall’s width and height, note any obstacles (vents, light switches, windows), and identify stud locations with a stud finder. Most wall-mounted items need anchoring into studs or drywall anchors rated for the item’s weight. Standard ½-inch drywall alone supports only 10–15 pounds with a standard picture hanger: heavier pieces require toggle bolts or direct stud mounting.
Renters should check lease terms. Some allow small nail holes, while others prohibit wall penetration entirely. Removable adhesive strips (rated by weight) and tension rods offer non-destructive alternatives, though they limit what can be installed.
Gallery walls work when they follow a loose grid or align along a central axis. Random clusters often look chaotic unless there’s a unifying element, matching frames, a consistent mat color, or a limited palette.
Planning the layout starts on the floor, not the wall. Lay out frames, swap positions, and measure spacing before picking up a hammer. A common formula: space frames 2–3 inches apart, and center the arrangement at 57–60 inches from the floor (standard gallery height, which aligns art with average eye level).
Use D-rings or sawtooth hangers on the back of each frame, and drive picture-hanging hooks at a 45-degree angle into drywall or directly into studs for frames over 10 pounds. For a streamlined look, some installers use a picture rail system with adjustable cables, which eliminates multiple holes and allows easy rearranging.
Matching frames create cohesion: mixing finishes (black metal, natural wood, white-painted) adds dimension but requires careful balancing. Avoid more than three frame styles in one gallery to prevent visual overload.
Prints, photos, botanical pressings, and small textile pieces all work. Skip glass on every frame if the wall gets direct sunlight, it creates glare. Plexiglass or acrylic glazing is lighter and safer in homes with kids or in earthquake-prone areas.
A single oversized piece simplifies decision-making and anchors a room instantly. The trade-off: it requires commitment and proper mounting hardware.
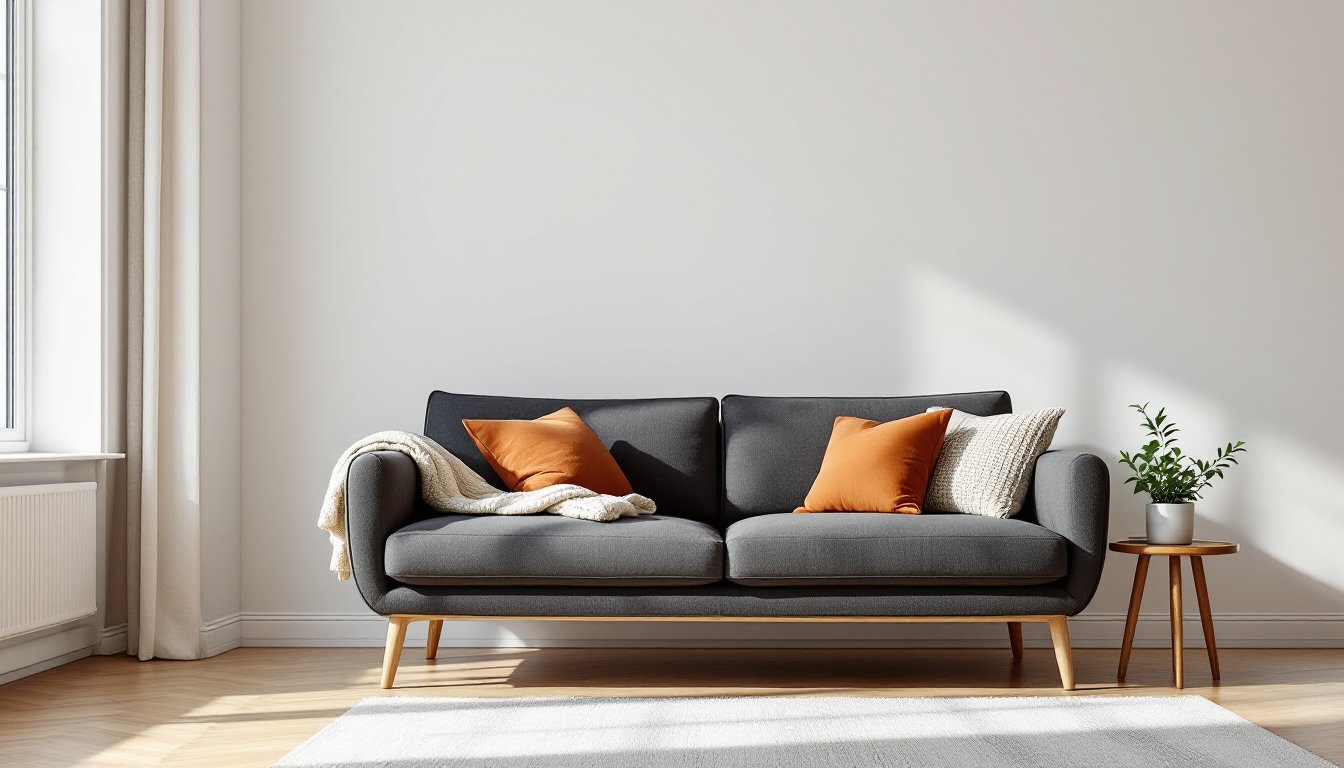
Sizing guidelines: For a wall above a sofa, the art should span two-thirds to three-quarters of the sofa’s width. A 90-inch sofa pairs well with a 60–68-inch-wide piece (or a diptych/triptych totaling that width). Hang the bottom edge 8–10 inches above the sofa back to maintain visual connection without crowding.
Large canvases, framed prints, tapestries, and wood panel art all qualify. Mirrors work too, though they serve double duty by reflecting light, helpful in dim rooms or spaces opposite windows.
Pieces over 30 pounds need two-point hanging systems. Use a level and mark both anchor points before drilling. Toggle bolts or heavy-duty drywall anchors rated for 50+ pounds are necessary unless hitting studs directly. For very heavy items (like solid wood panels or large mirrors), mount a French cleat, a two-part interlocking bracket that distributes weight across a larger area and allows leveling adjustments.
Safety note: Always wear safety glasses when drilling overhead, and use a dust mask if drilling into plaster or older drywall that may contain asbestos (common in homes built before 1980).
Leaning oversized art against the wall is an option for renters or anyone avoiding holes, but it requires a secure base and works only with lightweight frames or canvases. Never lean glass-fronted pieces in homes with children or pets.
Floating shelves add function and let homeowners rotate decor seasonally without re-drilling. They’re ideal for renters using damage-free mounting systems or homeowners who want flexibility.
Shelf depth matters. Standard floating shelves run 8–12 inches deep. Shallow (6-inch) shelves hold framed photos and small plants: deeper (12-inch or more) options accommodate books, ceramics, and layered objects.
Installation requires hitting at least two studs (studs are typically spaced 16 inches on center, sometimes 24 inches). Use a stud finder to locate them, mark with painter’s tape, and drill pilot holes before driving 3-inch wood screws through the shelf bracket into the stud. Drywall anchors alone won’t support loaded shelves long-term.
Group items in odd numbers (three or five objects), vary heights, and leave negative space. A crowded shelf looks messy: a sparse one looks intentional. Mix materials, wood, metal, ceramic, glass, to add texture.
Alternatives to wood shelves include metal pipe shelving (industrial look, requires flanges screwed into studs), corner shelves (maximize awkward spaces), and shadow boxes (inset frames that create depth).
Check manufacturer specs. Most floating shelf brackets support 20–50 pounds per shelf depending on stud attachment and bracket length. Overloading causes sagging or bracket failure.
Not every wall needs framed art. Mirrors, woven hangings, macramé, metal sculptures, and architectural salvage all add dimension and break up flat surfaces.
Mirrors enlarge small rooms and brighten dark corners by bouncing natural light. Position them across from windows, not across from clutter (they’ll just reflect the mess). Large frameless mirrors need mirror clips every 18–24 inches along the perimeter, screwed into studs or heavy anchors. Framed mirrors hang like art but weigh more, factor in both the glass and frame when selecting hardware.
Textile wall hangings, woven tapestries, quilts, macramé, or fabric panels, soften acoustics in echo-prone rooms (helpful in spaces with hardwood or tile). Hang them on wooden dowels or curtain rods mounted with brackets, or use a Velcro strip system (one side adhered to a board mounted on the wall, the other sewn to the textile). This avoids sagging and allows removal for cleaning.
Metal wall sculptures, reclaimed wood panels, or decorative molding (like coffered panel kits or board-and-batten treatments) add architectural interest. These installations often involve adhesive, finish nails, or brad nails driven into studs. Always prime and paint wood before installation to prevent warping.
Plants mounted in wall planters need waterproof backing or drainage considerations. Use potted plants in sealed containers or faux greenery to avoid water damage on drywall.
Wall decor should reinforce the room’s existing aesthetic, not fight it. Here’s how common styles translate to wall treatments:
Color choice matters. Cool tones (blues, grays) recede and calm: warm tones (reds, oranges, golds) energize and advance. In small rooms, lighter decor prevents walls from closing in. In large rooms, darker or bolder pieces add coziness.
Lighting enhances impact. Picture lights, track lighting, or wall-mounted sconces draw attention to art and reduce glare. Dimmable LEDs offer control. For wired sconces, hire a licensed electrician unless comfortable working with household electrical (and local codes permit DIY electrical work, many jurisdictions require permits).
Empty walls aren’t decorating voids, they’re opportunities to add character, balance, and function. The difference between a room that feels finished and one that feels flat often comes down to intentional wall treatments that match scale, style, and structural reality. Measure twice, find the studs, use the right hardware, and don’t be afraid to patch a few holes along the way. That’s how good rooms get built.