Phone:
(701)814-6992
Physical address:
6296 Donnelly Plaza
Ratkeville, Bahamas.

Phone:
(701)814-6992
Physical address:
6296 Donnelly Plaza
Ratkeville, Bahamas.
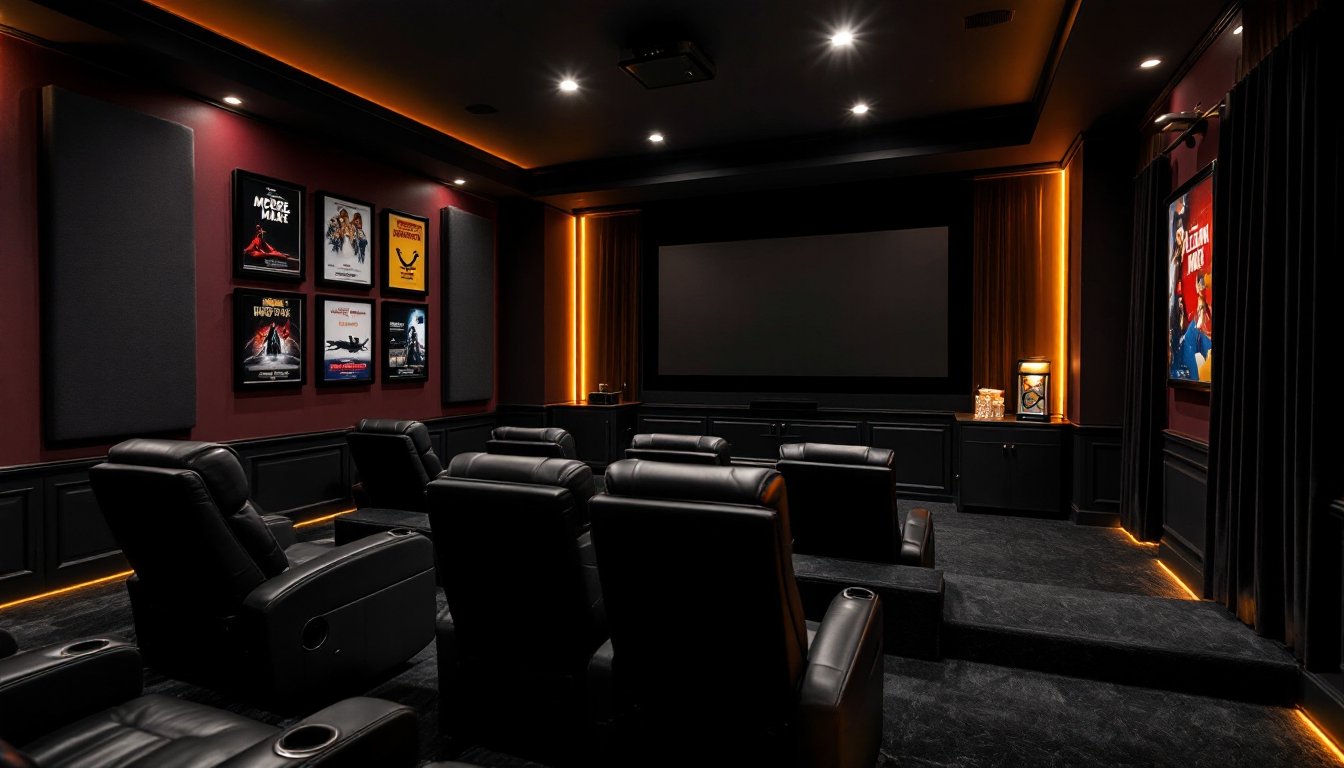
A dedicated home theater isn’t just about the screen and speakers, it’s about creating an environment that pulls viewers into the experience. The right decor doesn’t just look good: it controls light, manages sound reflections, and sets the mood from the moment someone walks in. Too many DIYers drop thousands on AV equipment only to have glare from a window wash out the picture or bare walls turn dialogue into an echo chamber. Getting the decor right means thinking like a theater designer, not just an interior decorator. This guide walks through the practical decisions that turn a spare room into a space built for serious watching.
Home theater decor directly impacts picture quality and audio performance. Light-colored walls reflect screen brightness back into the viewer’s peripheral vision, reducing perceived contrast and causing eye fatigue during long viewing sessions. Dark surfaces absorb stray light, letting the display do its job without competing reflections.
Acoustically, hard surfaces, drywall, glass, hardwood, bounce sound waves around the room, creating echoes and muddying dialogue. Strategic use of soft materials (curtains, upholstered seating, fabric-wrapped panels) tames those reflections without requiring a professional acoustic treatment.
The decor also sets expectations. A well-designed space signals that this isn’t a multipurpose room with a TV in the corner. It’s a dedicated environment where distractions fade and the film takes over. That mental shift makes a difference, especially for families trying to justify the investment in equipment and space.
Dark, matte colors are the gold standard for home theaters. Charcoal gray, deep navy, or flat black on walls and ceilings minimize light reflection and keep viewers’ eyes focused on the screen. Glossy or semi-gloss paints bounce light around the room, so stick with flat or matte finishes.
For those who don’t want to commit to near-black walls, a compromise is painting the wall behind the screen (and the ceiling above it) in a dark tone, then using medium grays or deep browns on the side and rear walls. This keeps the critical viewing area optimized while avoiding a cave-like feel during non-viewing hours.
Ceiling color is often overlooked. A white ceiling acts like a giant reflector, bouncing screen light down onto viewers. Painting it the same dark shade as the walls eliminates this issue. If painting the ceiling isn’t an option, consider a darker shade than the walls, at minimum, a medium gray.
Accent colors can work, but use them sparingly. A deep burgundy or charcoal blue on one wall adds visual interest without introducing problematic reflections. Avoid bright whites, yellows, or pastels entirely: they’ll compete with the on-screen image.
Floor color matters less for light control but still plays a role. Dark carpet is ideal for acoustics and light absorption. If the space has hardwood or tile, a large area rug in a dark tone helps absorb sound and reduces foot noise.
Lighting in a home theater serves two purposes: safe navigation when the movie’s running and ambient light for pre-show setup. Overhead can lights or recessed fixtures on a dimmer are the easiest solution. Install them on a dimmer switch (Lutron and Leviton both make reliable models) so they can drop to near-zero during viewing.
For a more theatrical feel, LED rope lights or strip lights installed along the baseboards or under seating risers provide just enough glow to see stairs and aisles without spilling light onto the screen. Look for strips rated at 2700K to 3000K (warm white) to avoid the harsh blue tone of daylight-rated LEDs. Install them on a separate switch or smart dimmer for independent control.
Sconces on side walls can add style, but position them so light aims down or is shielded by a shade, bare bulbs aimed at viewers or the screen kill the viewing experience. Wall-washers aimed at the rear wall can create a soft glow that reduces eye strain when transitioning from a dark screen to full lights.
Avoid windows if possible. If the room has them, install blackout curtains or cellular shades (the kind with a blackout layer) to eliminate daylight bleed. Even a small amount of ambient light from a window reduces contrast ratio and washes out darker scenes.
Smart lighting systems (Philips Hue, LIFX) can be programmed to fade down when playback starts and ramp up slowly during credits. It’s a nice touch, but a standard dimmer does the job for a lot less money.
Theater seating doesn’t have to mean oversized recliners, though they’re a popular choice for good reason. Look for models with manual or power recline, cup holders, and lumbar support. Leather or faux-leather upholstery holds up better than fabric in high-use spaces and is easier to wipe down after spills.
If the budget doesn’t allow for dedicated theater seats, a deep sectional or a pair of comfortable sofas works fine. Choose dark upholstery, charcoal, black, deep brown, to keep the seats from reflecting screen light. Avoid light grays or beiges.
Seating layout depends on screen size and room dimensions. For a single row, position seats so viewers sit at a distance of roughly 1.5 to 2.5 times the screen’s diagonal measurement. For a 100-inch screen, that’s about 12 to 20 feet. Closer than that and viewers strain to take in the whole image: farther and details get lost.
For multiple rows, raise the second row by at least 12 inches (a simple riser built from 2×10 or 2×12 framing covered in plywood and carpet) so viewers in the back can see over heads in the front. Make sure the riser is sturdy, calculate 50 pounds per square foot as a safe load estimate for seating and occupants.
Leave at least 36 inches of walkway space along aisles for safe egress. If the room is tight, consider a loveseat and individual chairs instead of a full sectional to maintain flexibility.
Acoustic panels don’t have to look like recording studio foam. Fabric-wrapped panels (Acoustimac, GIK Acoustics, or DIY versions using Owens Corning 703 rigid fiberglass wrapped in speaker cloth) absorb mid and high frequencies while doubling as wall art. Arrange them in a grid pattern or asymmetrically for visual interest.
For a DIY build, cut 2-inch-thick fiberglass panels to 24×48 inches, wrap them in acoustically transparent fabric (avoid heavy canvas or vinyl, which blocks sound), and mount using Z-clips or French cleats. Total material cost runs about $15 to $25 per panel depending on fabric choice.
Textured wall treatments like faux stone panels, wood slat walls, or battens add depth and help diffuse sound reflections. Real wood planks (1×4 or 1×6 pine, stained dark) installed vertically or horizontally with small gaps create a modern look and mild acoustic diffusion. These work best on rear or side walls where large flat surfaces would otherwise cause echoes.
Heavy curtains (velvet or theater-grade blackout fabric) on side or rear walls absorb sound and add a classic cinema vibe. Mount them on a ceiling track or wall-mounted rod and use tie-backs if needed. Fabric stores or online suppliers sell 16-ounce to 25-ounce velvet by the yard: expect to spend $20 to $40 per yard depending on quality.
Avoid covering more than 40% of wall surface with absorptive materials, or the room will sound too “dead” and lifeless. Balance absorption (panels, curtains) with some reflective or diffusive surfaces (wood slats, artwork) for natural sound.
Movie posters, framed in simple black or dark wood frames, are the easiest way to personalize a theater without adding visual clutter. Use UV-protective acrylic glazing instead of glass to prevent glare. Arrange them in a gallery wall on the rear or side walls, never on the front wall near the screen.
Concession stand accessories, a popcorn machine, a mini fridge stocked with drinks, or a candy display, add fun without much cost. A small countertop popcorn maker ($50 to $150) and a few glass jars filled with candy create a theater vibe. Keep these elements on a rear or side wall so they don’t distract during viewing.
Carpet or area rugs in dark tones help with sound absorption and add comfort underfoot. For dedicated theaters, install low-pile carpet (easier to clean than plush) in charcoal or black. If installing over concrete, add a carpet pad for comfort and additional sound dampening.
A riser or platform for rear seating can double as storage. Build a hollow riser with hinged top panels that lift to reveal space for extra blankets, cables, or AV equipment. Line the interior with foam or insulation to prevent it from acting like a drum when someone shifts weight.
Starfield ceiling kits (fiber optic or LED) are a popular accent for dedicated theaters. These simulate a night sky and add ambiance during pre-show or intermission. Installation is straightforward: run fiber strands through small holes drilled in the ceiling drywall, then connect to a light engine hidden in a closet or above the ceiling. Kits range from $200 to $1,000+ depending on coverage area and features.
Finally, don’t overlook cable management. Exposed HDMI cables, power cords, and speaker wire look sloppy. Use cable raceways, in-wall conduit (requires cutting drywall but gives a clean look), or simply run cables behind baseboards and furniture. For in-wall runs involving low-voltage wiring, check local code, most jurisdictions allow DIY low-voltage work, but some require a licensed electrician.
Home theater decor is more than aesthetics, it’s functional design that shapes how a room looks, sounds, and feels. Choosing the right colors, controlling light, treating acoustics, and selecting seating all contribute to a space that performs as well as it impresses. The best setups don’t shout: they quietly pull viewers in and let the screen do the talking.